


Builder Gel is a great way to create beautiful, long-lasting nails. It’s an ideal product for creating length and strength in nails when done properly. In this piece we’ll discuss what infilling builder gel is, how to prep your nails, the proper way to apply builder gel and how to finish it off and achieve a perfect manicure.
You may have heard the term 'infilling' before but do you know exactly what it is? Infilling is the process of replenishing Builder Gel nails with fresh Builder Gel to keep the manicure looking fresh and beautiful. It helps ensure your Builder Gel nails last longer by keeping them in good condition, preventing breakages and extending their life span.
Prepping your nails is essential for a successful Builder Gel application. Here are the steps you need to follow to make sure your nails are perfectly prepped and ready to be infilled.
Firstly - file the nails:
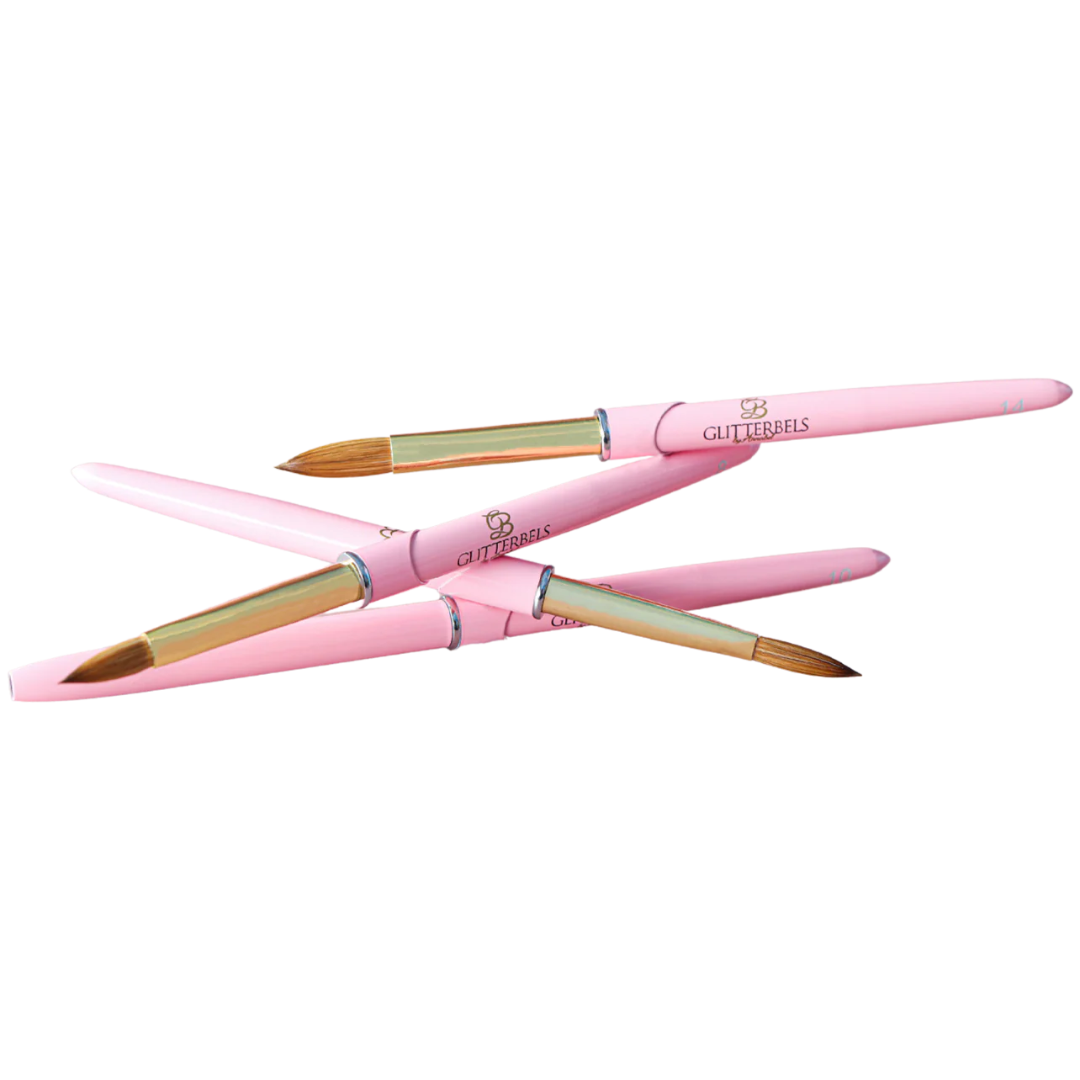
The initial step to effectively removing the builder gel is filing your nail. Utilising a corse file (180), you can remove all of the shine from the surface and get it ready for the next steps in the process. If desired, an electric nail file may be used as well; you could start with an electric one and then move on to a manual file afterwards. As you are filing, take care not to damage your natural nails in any way - just scrape off the top coat and nothing else. Now things are set up nicely for the next step.
Time to shape the nails:
Now that you have eliminated the topcoat as well as some of the gel, it's time to switch to a gentler file. Gently smooth out your natural nail bed and erase any lingering product or lifting. Pay particular attention to where the new nail meets the bottom of your cuticle line; this is where it is most likely where lifting will occur first. As you file your nails to achieve a smooth transition from the natural nail to gel, make sure that there's a curved 'C shape'. When necessary, trim them down slightly so they don't grow too long; however, if you're just starting out with this process it might be better not to touch their length to avoid any damage.
Time to push back the cuticle: Use a cuticle pusher to firmly push back the cuticles and scrape away any dead skin from the nails. Doing this correctly is critical, as it will reduce your likelihood of experiencing lifting.
Now clean the nails:
Finally, make sure all dirt and dust are wiped away. Begin by soaking a cotton pad in acetone before rubbing it over your nails. Rinse them off with some soap, followed by a light scrubbing using an appropriate brush. For the last step, take the same acetone-soaked cotton pad to remove any excess oils from your nails.
Let's start infilling!
- Now that the nails are ready, it's time to begin the infill. Firstly apply primer. This will bond your gel to your naturals better by providing a stronger foundation for adhesion.
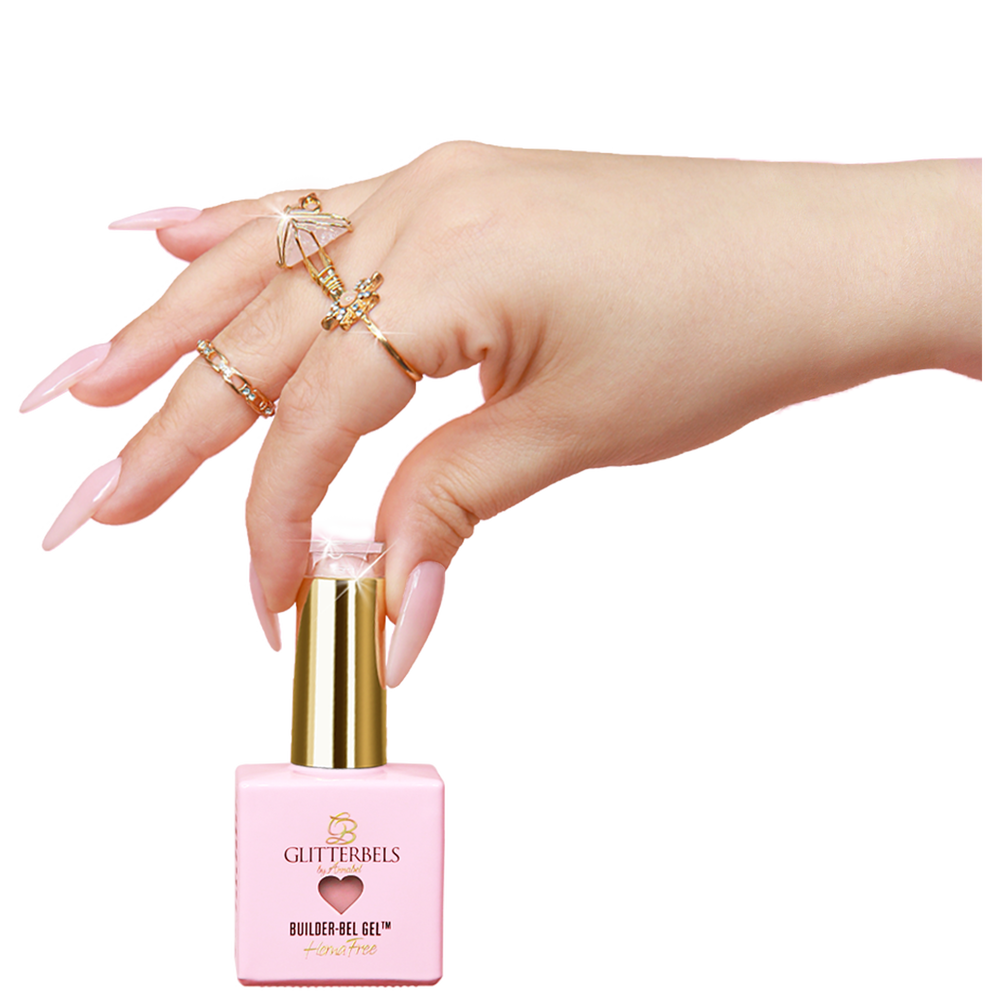
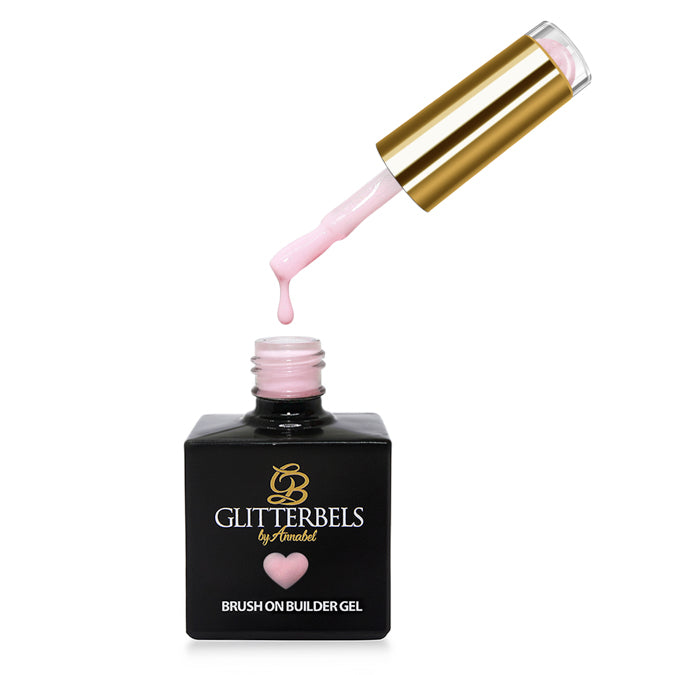
- Place a small amount of builder gel at the bottom of your nail (the cuticle area).
- Then drag the builder gel to the nail tip, ensuring that the entire nail is properly covered. Afterwards, apply more product in the centre of each nail for a perfect curve and structural reinforcement at key points on the nail.
- After you've applied the gel to your other three or four nails, cure them with a UV/LED lamp according to the instructions on the builder you have chosen.
Clean and Finish:
After your nails are cured, remove them from the lamp and use some acetone to clean off any sticky residue. Take a close look at each nail and decide if there are any bumps that you'd like to file down or refine the shape of them. Use your file with caution; just lightly go over each one until they're all looking perfect.
To finish off your manicure, all you have to do is apply a gel topcoat. After curing and cleaning the nails, they will look brand new. As an added bonus - some gels don't require a topcoat at all so just follow whatever routine works best for you. If needed, complete those steps on both hands before admiring how glossy and smooth your fingernails are now looking.
In conclusion, this Builder Gel infill process can seem daunting at first - but with a bit of practice and patience, you'll be able to get it right in no time. Don't forget to take your time when filing, shaping and pushing back cuticles, as these steps are key in ensuring that your Builder Gel lasts longer. As long as you follow the steps above and use the correct products, you can achieve beautiful Builder Gel nails that will last up to 4-6 weeks. With this process, you'll never have to worry about refilling your Builder Gels ever again. Happy infilling!