
Over the passing months, we have seen lots of different nail art trends. One of Annabel’s favourites is the “Glitter Cuticle”.
Learn the quick and easy five-step way to create the perfect glitter cuticle.
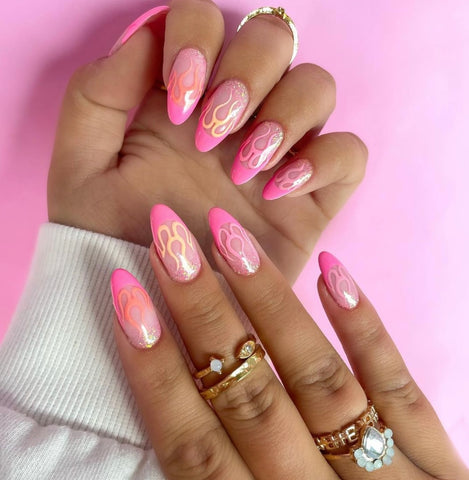
The glitter cuticle is the perfect way to add a little extra sparkle to a set of nails without creating a full glitter ombre or nail. The technique can be used all year round by changing the colours of the glitter used to something seasonal.
The design of a glitter cuticle works perfectly on its own or as a base for a gel nail art, and Annabel often pairs the sparkly look with a French tip, flames or something abstract.

This quick and easy design is perfect for nail techs with customers who aren’t sure what they want. If you want to perfect the “Glitter Cuticle” look the follow the simple steps below or visit the official Glitterbels YouTube channel for a in-depth tutorial.

Step One: Prep the nail
Start off by prepping the nail with the Glitterbels Dehydrator, Acid-Free Primer and adding a tip to the natural nail with the effortless adhesion glue. If you know you will be infilling your clients’ nails, then add a thin layer of Glitterbels Glass Slipper acrylic for the perfect base.

Step Two: Add the glitter
Pick up a small bead of a Glitterbels Pre Mixed Acrylic Glitter, we suggest using the range of crushes we have, as the glitter isn’t two chunky and is super reflective. For this tutorial, we used Lilac Crush. Place the bead of acrylic just under the cuticle and pat into place with your brush. Make sure you don’t drag the glitter all the way down the nail.

Step Three: Add your colour
Once your glitter is placed and you are happy with the application go in with a coloured acrylic or core powder. We used Perfect Pearl Shimmer from our Core range and the added shimmer works great with the glitter at the base of the nail. Pick up your bead and place it below the glitter, make sure to blend your main acrylic into the glitter to get the best results.

Step Four: Capping and Filing
When working with any type of glitter, you must make sure that all of the flakes are covered when you cap. This is important to do as when you begin to file you may file into your glitter. Cap the nail in the Glitterbels clear acrylic making sure to build your apex for strength and ensure that all the glitter looks dull when the acrylic has set. Once capped, file your nail into your preferred shape.

Step Five: Topcoat and Cure
Take your filed nail and add the finishing touch by giving the acrylic a coat of the Glitterbels No Wipe Topcoat. This is one of our favourite steps in the process as you see the glitter shine through. Cure the topcoat for 60 seconds in the Glitterbels Lamp and finish the set with a bit of cuticle oil.

Watch the full tutorial on how to recreate the Glitter Cuticle here.


