


If you're looking to achieve a salon-quality gel polish manicure at home, then proper nail preparation is key. In this article, we'll show you how to dehydrate and prep your nails for gel polish using some of our top tips. So whether you're a first-time user or an experienced pro, read on for the foolproof guide to getting perfect gel nails every time!
Why should you Prepare Your Nails for Gel Polish?
Prior planning and preparation is key to most nail treatments but especially for gel polish. Prepping your nails correctly is essential for achieving a long-lasting and durable finish. Without taking the right steps to prepare the nail surface, you’ll find that your gel polish will quickly chip or peel away at the edges.
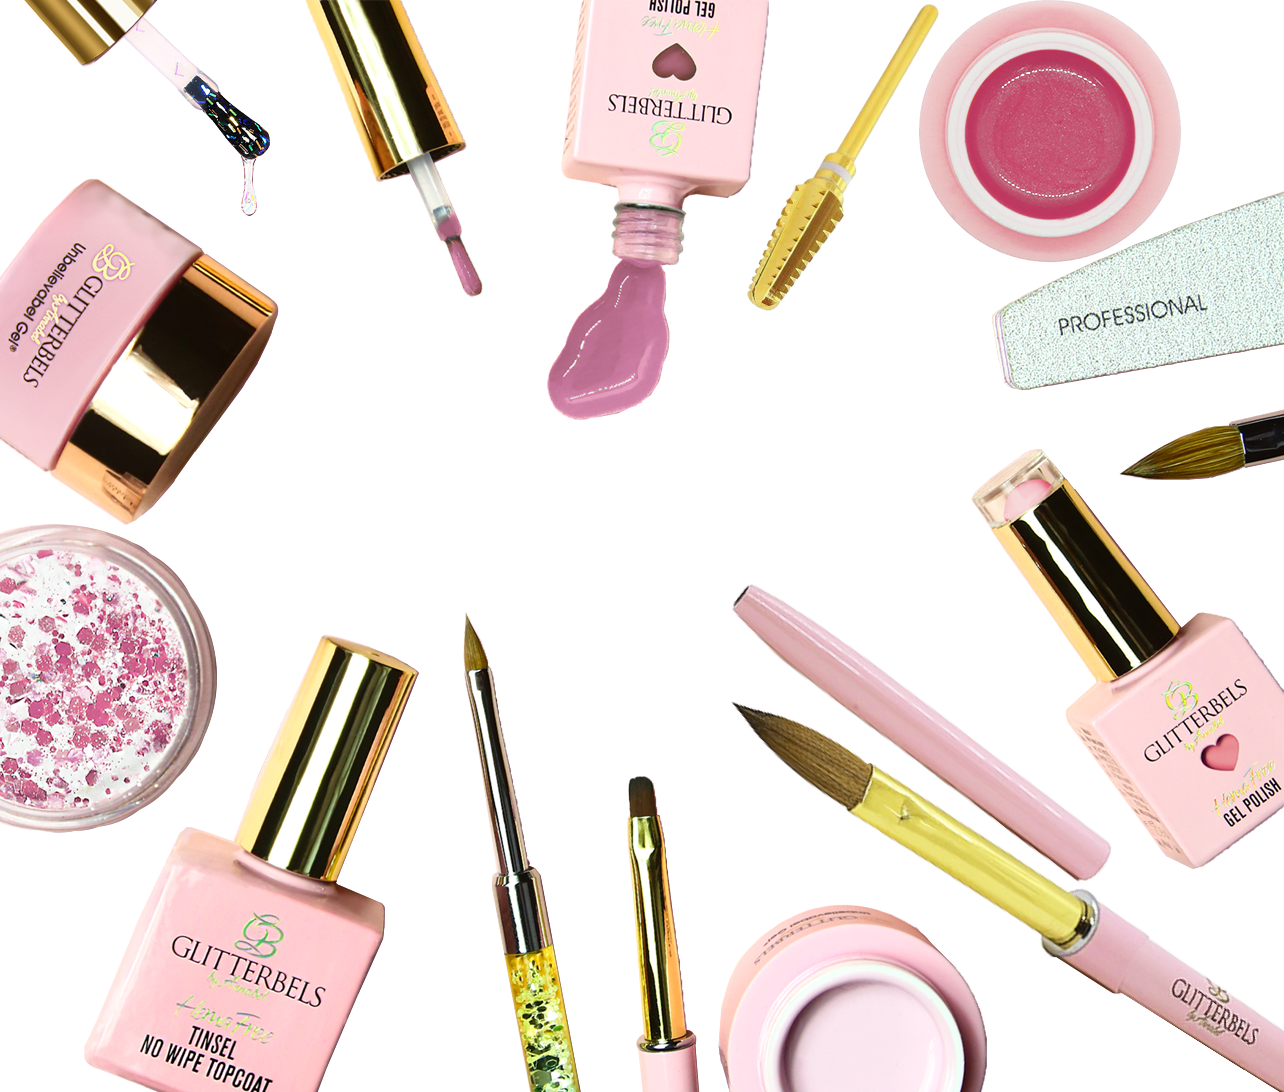
Here's the equipment you will need to prep your nails for gel polishing:
- Nail File
- Cuticle Pusher
- Cuticle Remover
- Orange Stick
- Nail Buffer
- Primer
The first step - shape the nails:
To prepare your nails for gel polish, begin by choosing the desired nail shape. You can use either nail clippers or a file to achieve the length you want. Use the file in one direction along the edge of your nails to create a rounded, square, almond, or stiletto shape.
Step two - push cuticles back
Prior to starting your manicure, apply cuticle oil to your nails and wait 60 seconds. This will help soften the cuticles before you push them back with either a metal or wooden Cuticle Pusher Stick. It's important that you be cautious not to leave any bits of skin on the edge of the nail bed as gel polish doesn't adhere well to the skin - this can cause lifting and an uneven finish.
Step three - take off dead skin
Remove any dead skin around your nails with cuticle nippers to keep them neat. You should only nip and remove dead skin, which will be white in colour. Be careful not to remove any live skin or you may cause injury.
Step four - time to buff the nails
After you've filed your nails, you want to use a fine Grit Buffer in order to buff them. Having smoother nails will give the polish less opportunity to lift.
When you buff your nails, it provides texture and grit for the polish to adhere to; however, be cautious not to overdo it. Your natural nails are very thin and delicate so if they're filed down too excessively, damage may occur to them.
Step 5 - Dehydrate and cleanse the nails
If your manicure is lifting, it might be due to dirt or oil on your nail bed. To prevent this, cleanse and wipe your nails with a lint-free cloth before applying any polish. You should use our acid-free primers for the best results. After filing and buffing your nails, this step should always be done last to remove any extra dust particles.

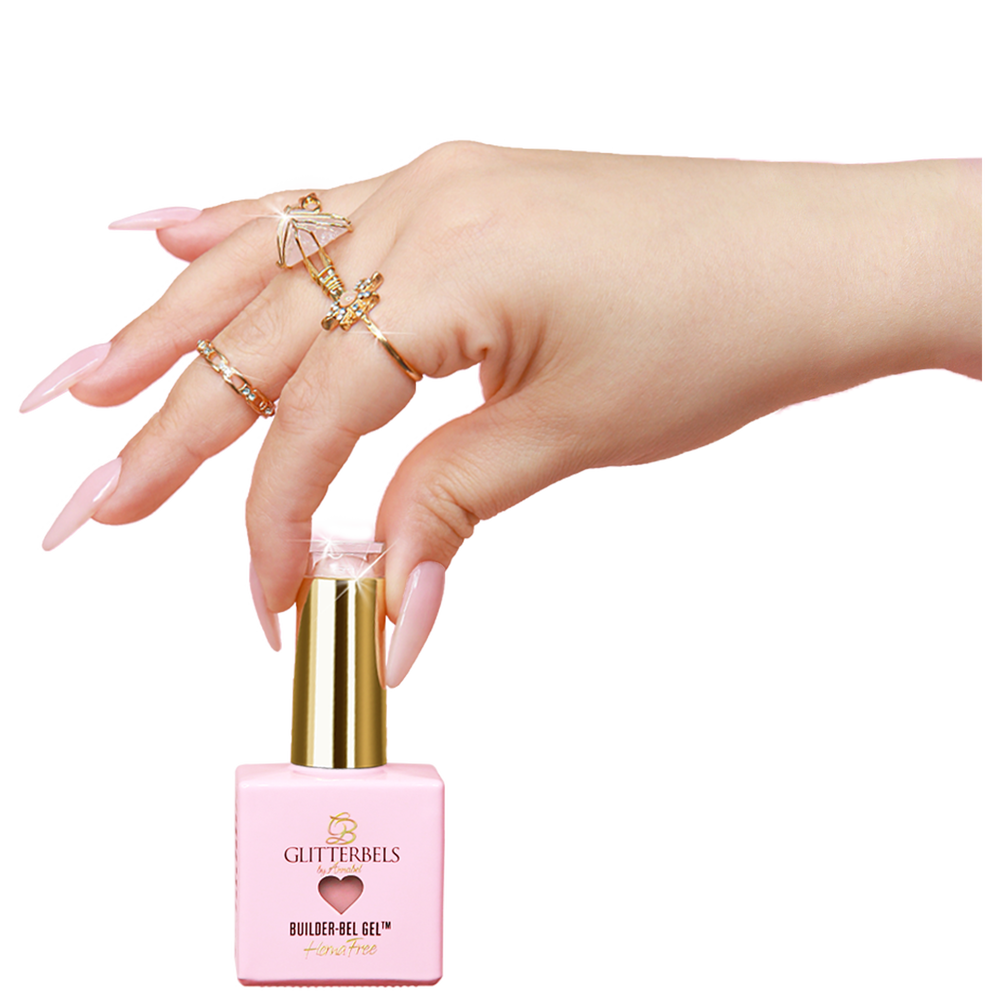
Is nail prep for builder gel the same as gel polish?
Yes and no. Builder gel requires a more thorough preparation as it is designed to be worn for longer periods of time, up to five weeks. You need to make sure your nails are free from oils and dirt before applying the builder gel otherwise it won't adhere properly. However, you still need to follow Steps 1-4 of this guide.
In conclusion, preparing your nails correctly is essential to achieving a professional-looking manicure at home. Follow these steps and you'll be well on your way to perfect gel nails every time! Good luck and happy polishing!