Over the last few months, we have seen the minimal manicure trend rise to the top. The “barely there” look is a favourite among, celebrities, nail technicians and those who scroll the internet looking for inspo for their next set. We have seen an influx of content showing off how to create the perfectly painted natural nail and how to apply a dainty French tip. Milky whites and pinks, beige tinted and crystal-clear builder gels have become the go to base for everyone.
We love this simple look; it is a nail trend that will never go out of style and will forever be timeless. One of the latest nail art trends that fits into the group of the natural nail look is the “American Manicure”. What is the American Manicure, you ask? Well, VOGUE told us…
“An American manicure is an even quieter interpretation on the classic French, with tips coloured in a creamy white and topped with a sheer nude base colour for a natural and customizable style.” VOUGE
We asked our very own, Stacey Machin (@staceymachin), to tell us what she thought about the “American Manicure”. Of course, she went the extra mile and gave us a step-by-step guide on how to re-create this sophisticated look, with the Glitterbels Hema Free Range.
Here is what Stacey had to say…
“If you’re loving the “barely there” nail movement but don’t want to give up your painted French tips, the Muted French Manicure is the perfect alternative. Also known as the “American Manicure”, this mani is easily achieved by applying a sheer nude over your white tips. This low maintenance style provides a slightly blended effect to a French manicure so you can wear chic yet natural looking nails that are right on trend.”
So, now you know the ins and outs of the “American Manicure”, here are the step-by-steps…

Step 1:
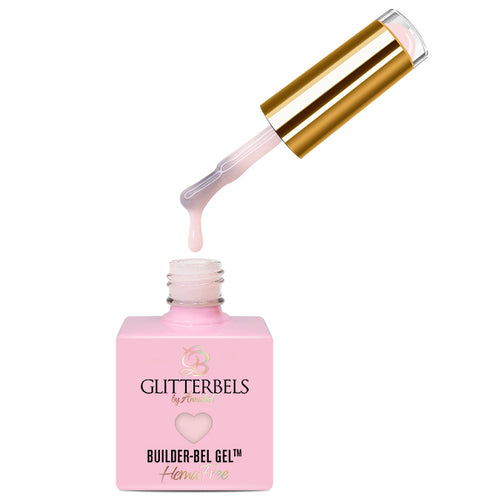
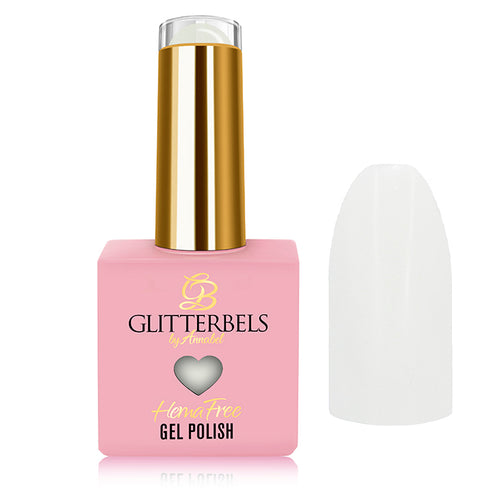
Apply your nude-coloured base, a sheer one would be best for the most natural effect. You can use a gel polish or one of our Hema Free Builder-bel shades. I opted for shade “Frenchie”.
Step 2:
Paint on your French tips with Hema Free Gel in shade “White”. The best way to create a French tip is to use a fine liner brush. Use the middle point of the tip of the nail as an anchor point and draw your lines from the sidewalls up, until they meet at said point. Once you’re happy, cure for 60 seconds.
Step 3:
When all your French tips are cured, you will need to mute the nail art. Using the same shade you used for the base, paint a thin layer all over the nail, including the white tips and cure for 60 seconds. This will defuse any harsh lines, for a softer finish.
Step 4:
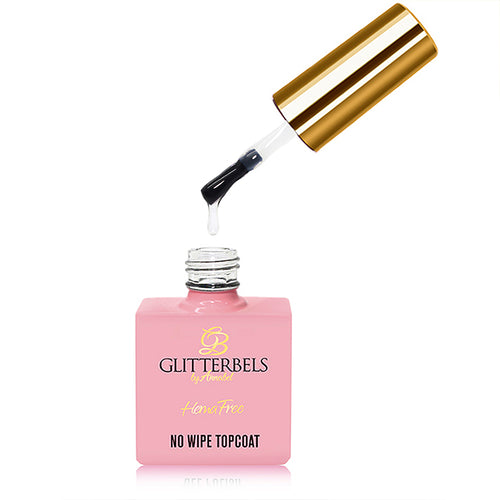
When your French tip has been softened with the extra layer of builder-bel gel, apply Hema Free no wipe topcoat and cure.
Step 5:
After 60 seconds your topcoat will have cured. Wait for at least 30 seconds before you cleanse the nails and apply your cuticle oil. After that, you will be insta-ready.
For a link to the TikTok tutorial, click here.