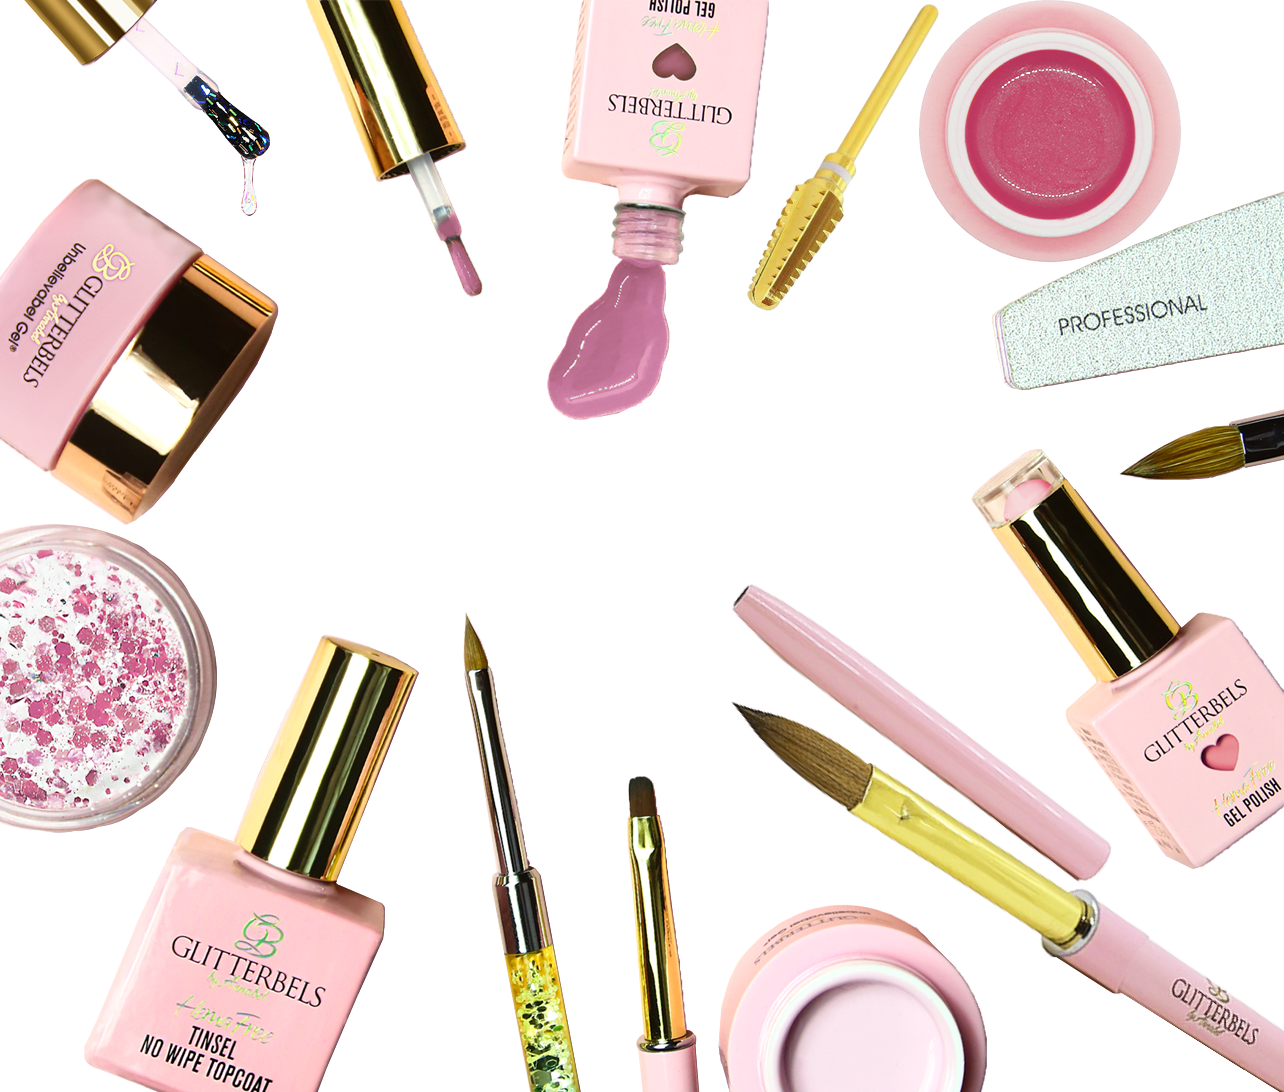


The products you will need for this set are:
- Extreme Coffin Tips
- Tip Cutters
- Effortless Adhesion Glue
- Hema Free Acid-Free Primer
- Hema Free Dehydrator
- 150 Grit File (*E-File if you have one and are trained)
- Square Buffer
- Acrylic Powder in shade Pom Pom
- Core Powder in Glass Slippers
- Unbelievabel Gel in Ruby
- Unbelievabel Gel in White
- Hema Free Gel Polish in Barbie Party
Step 1:
Prep the natural nails by buffing and filing gently and applying the Glitterbels Extreme Coffin Tips. Once the tips are secured with the Effortless Adhesion Glue, cut, and file the tips into a long almond shape. Finally, apply the Dehydrator and Acid-Free Primer.

Step 2:
Apply the Core Powder in shade “Glass Slipper” as a base to the nail, then go in with the shade “Pom Pom” from the coloured acrylic collection. Once your coloured Acrylic is applied, use a final layer of “Glass Slipper” to cap and build the shape of your nail.
Step 3:
File the acrylic to perfection by using an e-file to remove the bulk and a 150-grit file to refine. If you don’t have access to an e-file or aren’t currently trained in this equipment you can use the 150-grit file to hand-file the nail into shape. Use a buffing block to help eliminate file lines.

Step 4:
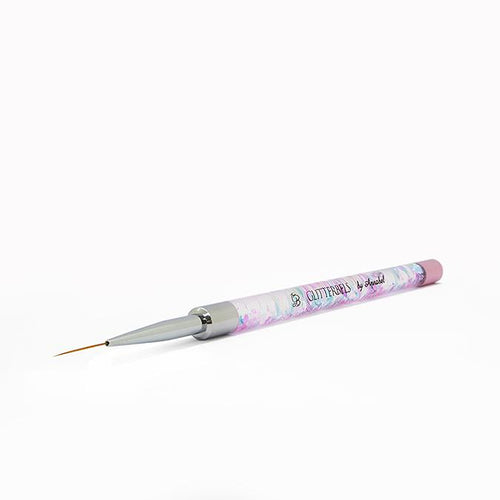
Using the Glitterbels Unbelievabel Gel in shade “White” and a 20mm fine liner brush, create the perfect French tip. Once you are happy with the application, cure the design for 60 seconds.

Step 5:
When you have added your French to your chosen nails, begin on the heart-shaped designs on the others. For the best effect, use a few different colours. We opted for Reds, White, and Pinks, keeping with the Valentine’s theme. Alternating between full-colour hearts and outlines gives the design a cute textured look. A top tip for this type of nail art is to layer the hearts.