


We are so excited the year's spookiest holiday is just around the corner, get your fake blood and an assortment of red crystals at the ready, because we have a treat for you. This year Annabel and the Glitterbels Creative Team pushed boundaries with the Halloween marketing campaign. Using a sickening combination of dripping blood and a bone-chilling number of crystals we created this look.
Annabel and the team had a fab time creating this set, and we are sure you will too. So, sit back and let us share how we created this look.
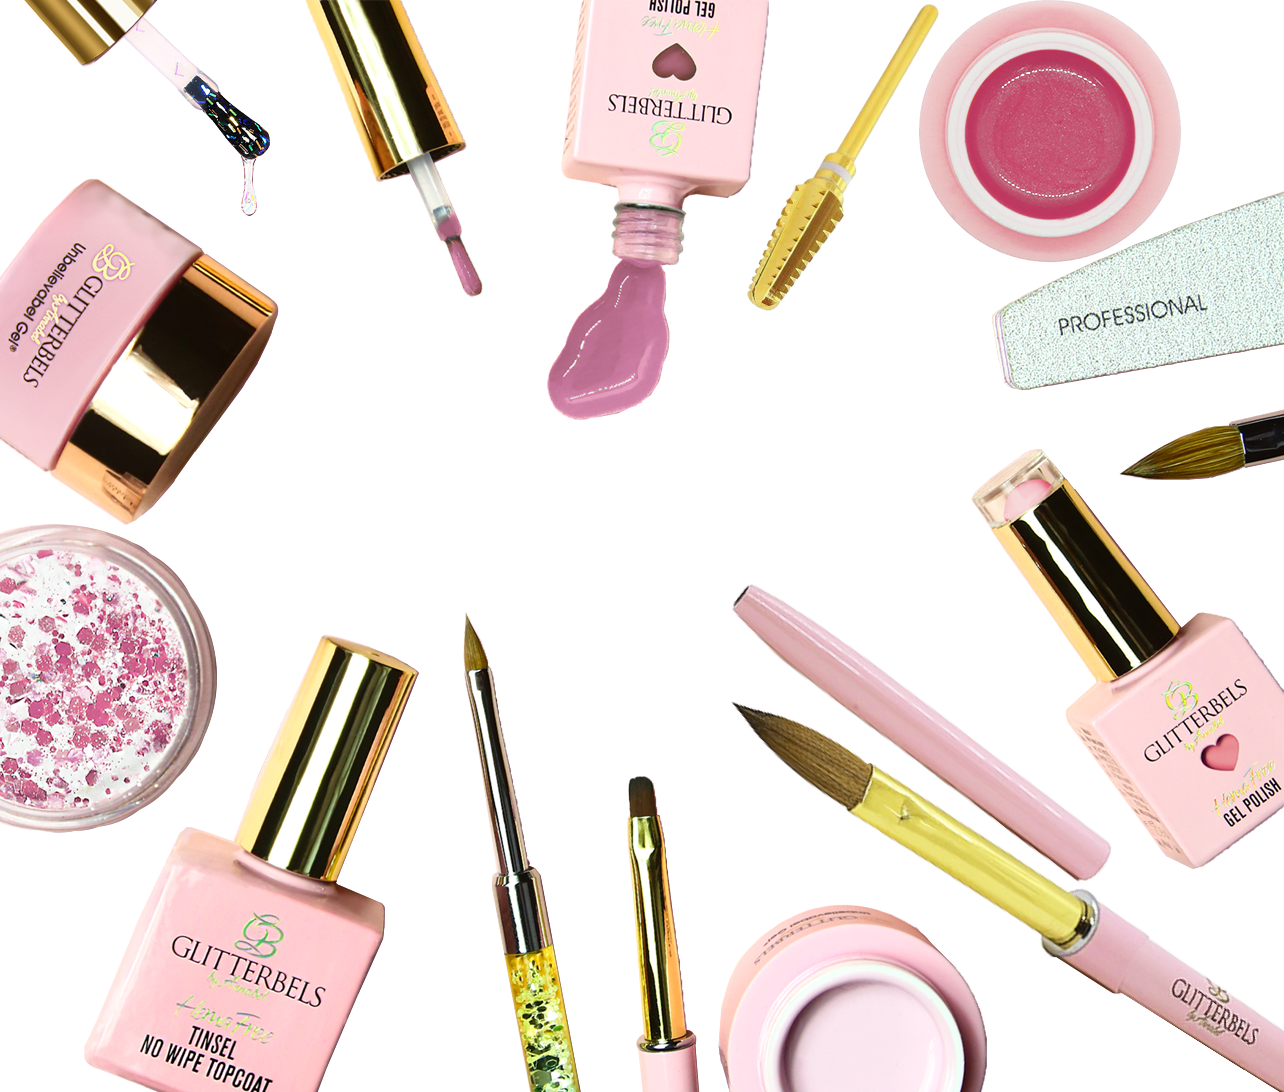
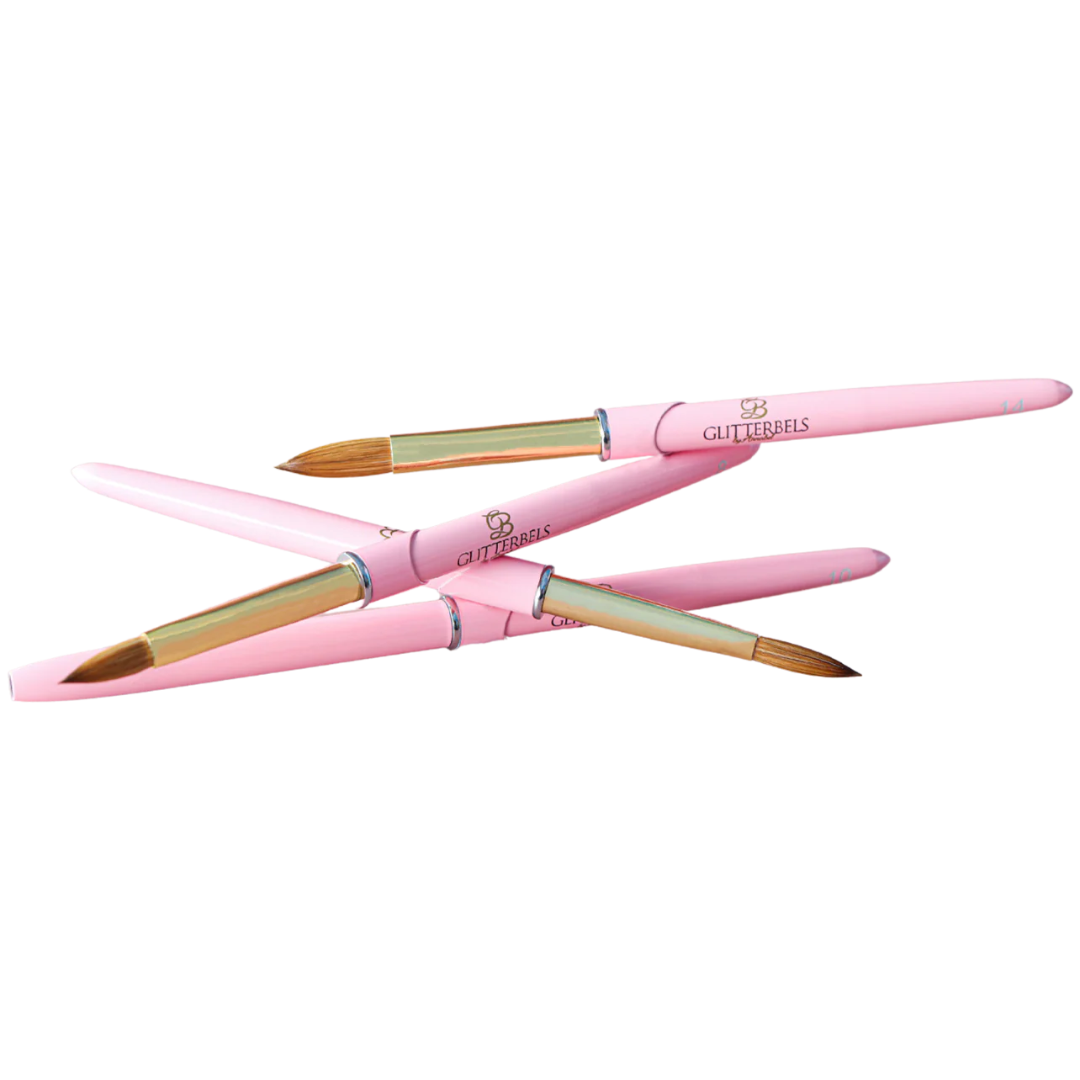
The products you will need to recreate this look are as follows:
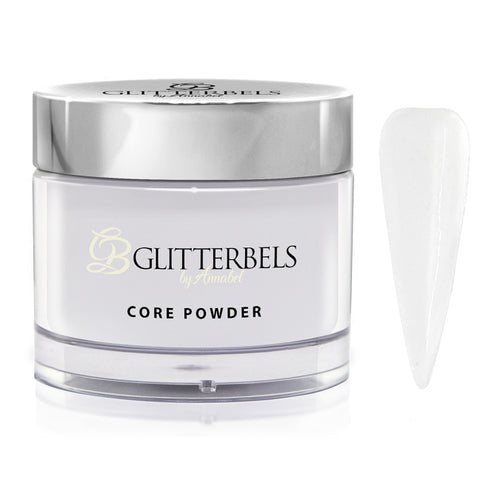
- Glass Slippers Core Powder
- Cocktail Sparkle Coloured Acrylic
- Rouge Multi Mixed Loose Glitter
- Love Crush Pre-Mixed Glitter
- Ravishing UBG
- Extreme Length Tips
- Glue
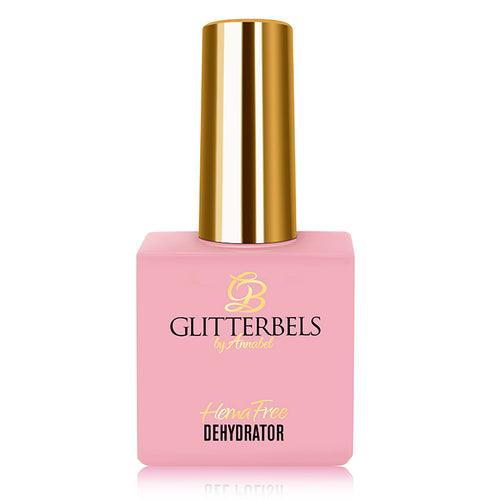
- Dehydrator
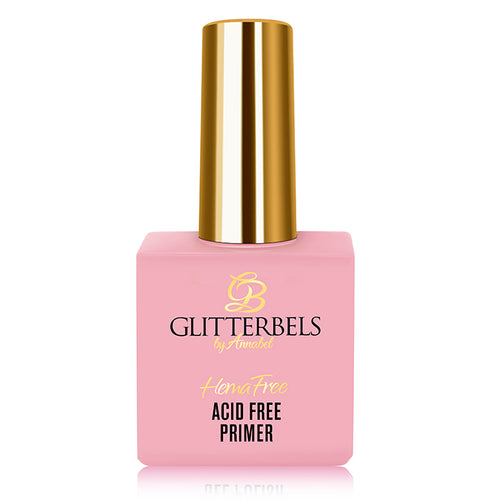
- Acid-Free Primer
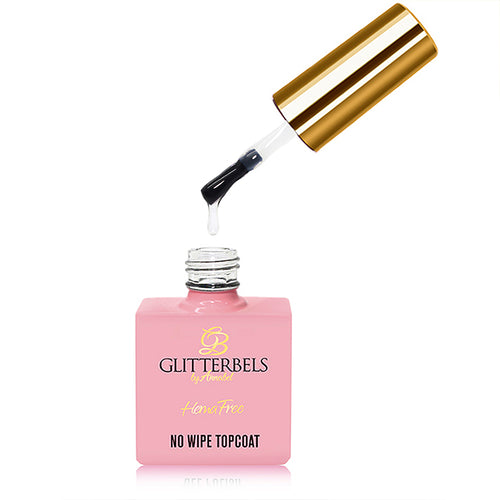
- Topcoat
- Smoothing File
- Red Crystals
- Fake Blood
Step By Step:
1. To prep the natural nail, use a cuticle pusher to remove excess cuticle. Then using a Glitterbels 180 Grit File, gently abrase over the nail. Apply the Glitterbels Extreme Length Tips with the Glitterbels Effortless Adhesion Glue and then apply the Glitterbels Dehydrator and Acid-Free Primer.


2. File the tips into an almond shape with a 150 Grit File.

3. Once prepped, apply a thin layer of clear acrylic (Glitterbels Glass Slipper) to the nail. This creates the perfect base and barrier to protect the natural nail from colour transfer.
4. Use your acrylic brush to pick up a small bead of Glitterbels Premixed Glitter in shade “Love Crush” and apply in a crescent moon shape around the cuticle. Add a bit of Glitterbels Loose Glitter in shade “Rouge Multi Mixed” over the top to add a bit of extra sparkle.

5. Apply Glitterbels Coloured Acrylic in shade “Cocktail Sparkle” from the tip of the nail and down to the cuticle. Blend the colour acrylic into the glitter cuticle, making sure you don’t cover all the glitter.

6. Once the acrylic design has set, cap the coloured acrylic and glitter in a layer of clear acrylic (Glitterbels Glass Slipper) making sure to build your apex and nail structure. Ensure that all of the glitter looks matte when capped, as you don’t want to file into the design when you refine the nail with a file.
7. When the acrylic has set, grab a Glitterbels 150 Grit File and refine the side walls and nail into your preferred shape. Take care around your client's skin.
8. Apply Glitterbels No Wipe Topcoat once the nail has been filed and dust has been washed away. Cure for 60 seconds in the Glitterbels Lamp.
9. Take your Glitterbels Fine Liner brush and the Glitterbels Unbelievable Gel in shade “Ravishing” and draw the dripping blood effect by dabbing your brush and swiping up to create a raindrop shape. Once the gel art is finished cure for 60 seconds.

10. Use an old brush to apply a lash glue or skin-safe glue to the fingers, do this in small sections to make sure the glue doesn’t dry out before adhering the crystals to the finger. Use a mixture of different-sized crystals for the best effect.

And there you have it!
If you are struggling with a costume idea or just what to do with your nails this Halloween, we’ve always got you covered. If you’re not feeling daring enough to rock some blood-red crystals, check out our YouTube channel for more inspiration. You can also check out our last blog for 17 amazing Halloween designs to recreate at home.